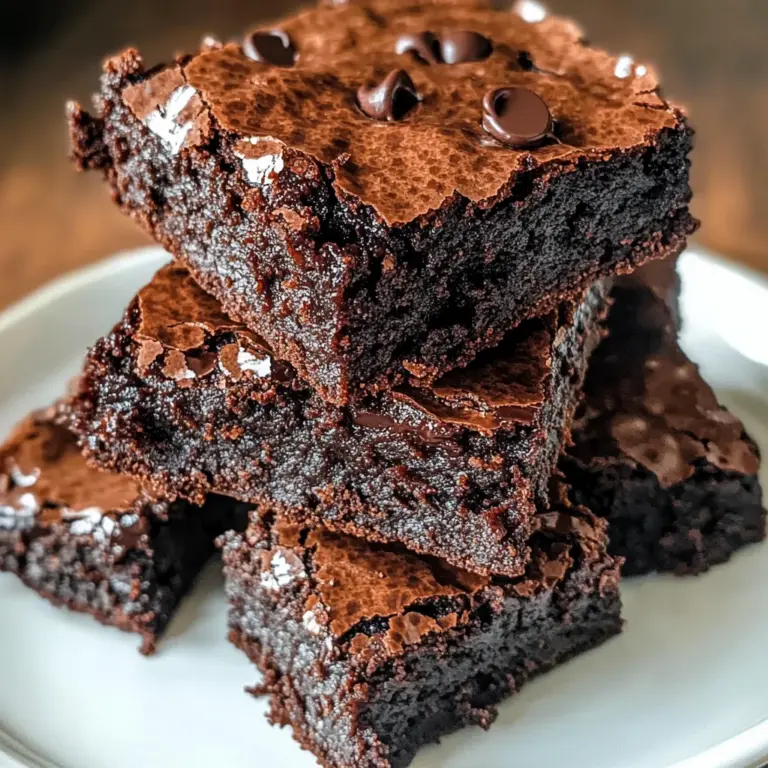
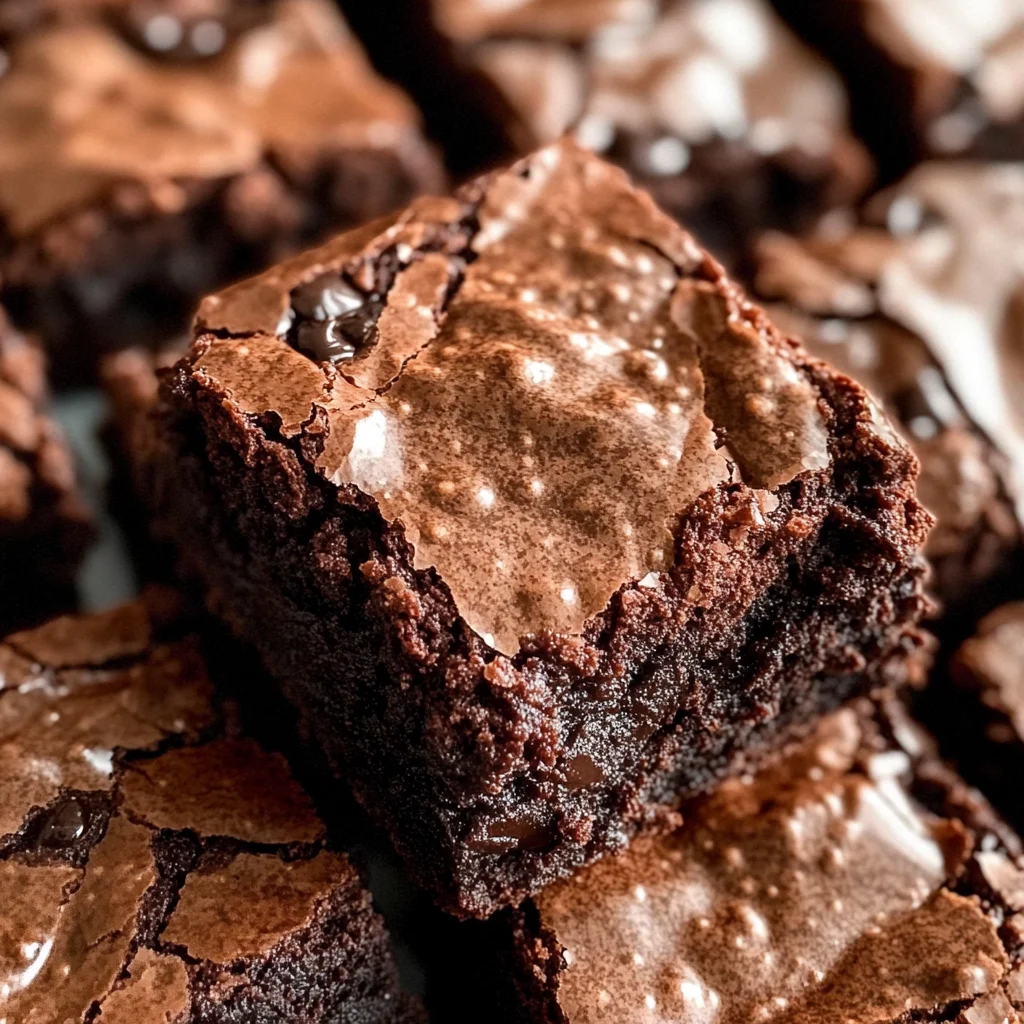
Gluten Free Brownies
Need to satisfy your chocolate craving? These gluten free brownies are the perfect way to do it! They’re fudgy, easy to make, dairy-free, and made with simple ingredients you probably already have on hand. Ideal for parties, gatherings, or just a cozy night in, this recipe will delight chocolate lovers of all ages.
Why You’ll Love This Recipe
- Fudgy Texture: These brownies are incredibly moist and rich, giving you that perfect indulgent bite.
- Quick and Easy: With minimal prep time, you can whip up these brownies in no time.
- Versatile: Perfect for any occasion – from casual get-togethers to special celebrations.
- Dairy-Free Option: Made with non-dairy ingredients, they’re suitable for those who are lactose intolerant.
- Simple Ingredients: You likely have all the components in your pantry already!
Tools and Preparation
To prepare these delicious gluten free brownies, you’ll need a few essential kitchen tools. Having the right equipment makes the process smoother and ensures great results.
Essential Tools and Equipment
- Mixing bowls
- Whisk
- Microwave-safe bowl
- 8×8 baking dish
- Parchment paper
Importance of Each Tool
- Mixing bowls: Essential for combining the ingredients thoroughly without making a mess.
- Whisk: Helps achieve a smooth batter by blending eggs and sugar effectively.
- Microwave-safe bowl: Perfect for melting chocolate quickly and evenly without burning it.
Ingredients
Ingredients:
– 2 large eggs (room temperature)
– 3/4 cup granulated sugar
– 1 2/3 cup semi-sweet chocolate chips (divided)
– 3/4 cup oil (I used avocado; any neutral oil like refined coconut works)
– 2 teaspoons vanilla extract
– 2 tablespoons milk (dairy or non-dairy, room temperature)
– 1/2 cup + 2 tablespoons gluten-free all-purpose baking flour
– 2 tablespoons cocoa powder
– 1/4 teaspoon salt
– 1/4 teaspoon baking powder
How to Make Gluten Free Brownies
Step 1: Preheat the Oven
Preheat your oven to 350 degrees Fahrenheit. This ensures that your brownies bake evenly.
Step 2: Melt the Chocolate
Add 1 cup of the chocolate chips to a microwave-safe bowl. Microwave at 30-45 second intervals, stirring between each until completely melted.
Step 3: Mix Wet Ingredients
In another mixing bowl, whisk together the eggs, sugar, vanilla extract, milk, and oil until well combined. Once mixed, add in the melted chocolate and whisk again until smooth.
Step 4: Combine Dry Ingredients
In a separate bowl, mix together the dry ingredients: gluten-free flour, cocoa powder, salt, and baking powder. Gradually add this mixture into the wet ingredients while stirring until a batter forms. Fold in the remaining 2/3 cup of chocolate chips.
Step 5: Prepare Baking Dish
Transfer the batter into an 8×8 baking dish lined with parchment paper. Spread it evenly across the dish.
Step 6: Bake Your Brownies
Bake for about 30-38 minutes or until a toothpick inserted comes out somewhat clean. The tops should appear shiny and crinkly. Adjust baking time based on desired fudginess—longer for less fudgy centers.
Step 7: Cool & Slice
Allow the brownies to cool completely before slicing them into even squares. For cleaner slices, refrigerate them for about 20 minutes prior to cutting!
Enjoy these delectable gluten free brownies as a treat any day of the week!
How to Serve Gluten Free Brownies
Serving gluten free brownies can be a delightful experience, and there are several creative ways to enjoy them. Whether you want to elevate your dessert or keep it simple, here are some serving suggestions.
A La Mode
- Serve your brownies warm with a scoop of dairy-free ice cream for a delicious contrast in temperatures and textures.
With Fresh Berries
- Top your brownies with a mix of fresh berries like strawberries, blueberries, or raspberries. The tartness of the berries complements the richness of the chocolate.
Drizzled with Chocolate Sauce
- Add an extra layer of indulgence by drizzling melted chocolate or a chocolate sauce over the top before serving.
Whipped Coconut Cream
- For a light and airy topping, dollop whipped coconut cream on each brownie. This adds a creamy texture that pairs well with the fudginess.
Nutty Topping
- Sprinkle chopped nuts such as walnuts or pecans on top for added crunch and flavor. It brings a delightful contrast to the soft brownie texture.
Café Style
- Serve brownies alongside a cup of coffee or tea for an afternoon treat that feels gourmet and satisfying.
How to Perfect Gluten Free Brownies
Getting your gluten free brownies just right is all about technique and ingredient quality. Here are some tips to ensure they turn out perfect every time.
- Use room temperature ingredients – Ingredients like eggs and milk should be at room temperature for better mixing and texture.
- Measure flour correctly – Spoon the gluten free flour into your measuring cup instead of scooping it directly from the bag; this prevents using too much flour.
- Don’t overmix – Mix until just combined to maintain the fudgy texture. Overmixing can lead to dense brownies.
- Check doneness carefully – Use a toothpick to test; it should come out with moist crumbs for fudgy brownies, not completely clean.
- Cool before slicing – Allow the brownies to cool completely before cutting them into squares for cleaner edges.
- Experiment with flavors – Add spices like cinnamon or extracts like almond for unique flavor profiles that enhance the chocolate.
Best Side Dishes for Gluten Free Brownies
Pairing side dishes with gluten free brownies can create an enjoyable dessert experience. Here are some great options that complement these rich treats.
- Vanilla Ice Cream – A classic choice, vanilla ice cream provides a creamy balance to the rich chocolate flavor.
- Fruit Salad – A refreshing mix of seasonal fruits adds brightness and cuts through the sweetness of the brownies.
- Chocolate Mousse – For true chocolate lovers, serving alongside a light, airy chocolate mousse makes for an indulgent treat.
- Chia Seed Pudding – This healthy option offers a creamy texture while keeping it dairy free, perfect for those looking for lighter alternatives.
- Peanut Butter Dip – A simple peanut butter dip pairs beautifully with brownies, adding nutty richness that enhances their flavor.
- Coffee or Espresso – Serving your brownies with coffee or espresso creates an elegant touch while enhancing their chocolatey goodness.
- Almond Milkshake – A cold almond milkshake serves as a delicious drink to accompany your dessert without adding heaviness.
- Coconut Yogurt Parfait – Layer coconut yogurt with granola and fruit for a delightful contrast in flavors and textures alongside your brownies.
Common Mistakes to Avoid
Making gluten free brownies can be tricky if you’re not careful. Here are some common mistakes to watch out for:
- Using cold eggs: Cold eggs can lead to uneven mixing and a less fluffy texture. Always use room temperature eggs for the best results.
- Overmixing the batter: Overmixing can result in tough brownies. Mix until just combined to keep them fudgy and soft.
- Measuring flour incorrectly: Scooping flour directly from the container can pack it down, leading to dry brownies. Always spoon flour into the measuring cup and level it off with a knife.
- Not checking oven temperature: Ovens can vary in temperature. Use an oven thermometer to ensure your brownies bake correctly.
- Skipping cooling time: Cutting brownies too soon can cause them to crumble. Let them cool completely for perfect slicing.
Storage & Reheating Instructions
Refrigerator Storage
- Store gluten free brownies in an airtight container.
- They will last for up to 5 days in the refrigerator.
Freezing Gluten Free Brownies
- Wrap brownies individually in plastic wrap or foil.
- Place them in a freezer-safe container or bag for up to 3 months.
Reheating Gluten Free Brownies
- Oven: Preheat your oven to 350°F, place brownies on a baking sheet, and heat for about 10 minutes.
- Microwave: Heat one brownie at a time for about 15-20 seconds until warm.
- Stovetop: Place a brownie in a pan over low heat, cover, and warm slowly for several minutes.
Frequently Asked Questions
Here are some common questions about gluten free brownies:
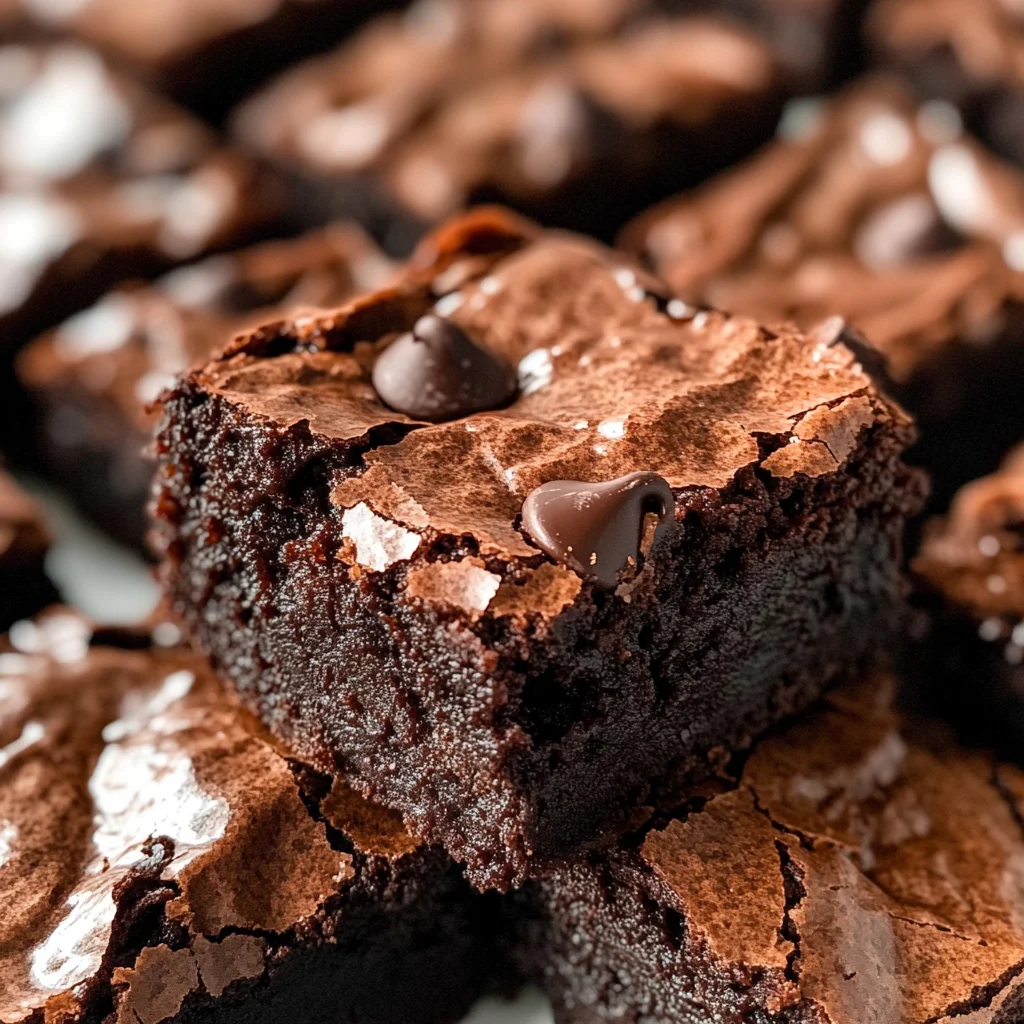
What makes these Gluten Free Brownies fudgy?
The combination of melted chocolate and oil creates a dense, moist texture that makes these brownies deliciously fudgy.
Can I substitute any ingredients in this Gluten Free Brownies recipe?
Yes! You can use different types of oils or non-dairy milk according to your preference while ensuring they remain gluten-free.
How do I know when my Gluten Free Brownies are done baking?
Check for a shiny top with slight crinkles, and insert a toothpick; it should come out with a few moist crumbs.
What should I do if my Gluten Free Brownies are too dry?
If your brownies turn out dry, you may have overbaked them. Next time, reduce baking time and check earlier.
Final Thoughts
These gluten free brownies are not only simple to make but also incredibly satisfying. Their rich chocolate flavor is sure to please everyone! Feel free to add nuts or swirls of nut butter for an extra twist. Try this recipe today and enjoy a delightful treat that everyone can enjoy!
Gluten Free Brownies
Indulge your chocolate cravings with these delectable gluten-free brownies! Rich, fudgy, and made with simple pantry staples, this easy recipe is perfect for any occasion—whether it’s a cozy night in or a lively gathering. With a delightful texture and the option to customize with your favorite add-ins, these brownies are sure to win over chocolate lovers of all ages. Plus, they’re dairy-free, making them friendly for those with lactose sensitivities.
- Prep Time: 15 minutes
- Cook Time: 35 minutes
- Total Time: 50 minutes
- Yield: Makes approximately 16 servings 1x
- Category: Dessert
- Method: Baking
- Cuisine: American
Ingredients
- 2 large eggs (room temperature)
- 3/4 cup granulated sugar
- 1 2/3 cup semi-sweet chocolate chips (divided)
- 3/4 cup oil (e.g., avocado or refined coconut)
- 2 teaspoons vanilla extract
- 2 tablespoons milk (dairy or non-dairy, room temperature)
- 1/2 cup + 2 tablespoons gluten-free all-purpose baking flour
- 2 tablespoons cocoa powder
- 1/4 teaspoon salt
- 1/4 teaspoon baking powder
Instructions
- Preheat oven to 350°F.
- Melt 1 cup of chocolate chips in a microwave-safe bowl in intervals of 30-45 seconds.
- In another bowl, whisk together eggs, sugar, vanilla extract, milk, and oil until smooth. Stir in melted chocolate.
- In a separate bowl, combine gluten-free flour, cocoa powder, salt, and baking powder. Gradually mix into wet ingredients until just combined. Fold in remaining chocolate chips.
- Pour batter into an 8×8 baking dish lined with parchment paper and spread evenly.
- Bake for 30-38 minutes until the top is shiny and crinkly; a toothpick should come out with moist crumbs.
- Cool completely before slicing into squares.
Nutrition
- Serving Size: 1 brownie (40g)
- Calories: 160
- Sugar: 12g
- Sodium: 50mg
- Fat: 10g
- Saturated Fat: 2g
- Unsaturated Fat: 8g
- Trans Fat: 0g
- Carbohydrates: 18g
- Fiber: 2g
- Protein: 2g
- Cholesterol: 0mg