Protein Cheesecake
This Protein Cheesecake is a delightful treat that combines health and indulgence. Perfect for any occasion, this creamy dessert is rich in protein, making it a fantastic option for those looking to enjoy something sweet without compromising on nutrition. With simple ingredients and easy steps, you can whip up this cheesecake to impress your guests or simply treat yourself!
Why You’ll Love This Recipe
- High in Protein: This cheesecake packs a protein punch thanks to the Greek yogurt and protein powder, making it a satisfying dessert.
- Customizable Flavors: You can easily switch up the sweetener or add flavors like lemon zest or cocoa powder to suit your taste.
- Simple Preparation: With minimal prep time and straightforward instructions, you’ll have a delicious dessert ready with ease.
- Versatile Serving Options: Enjoy it as a snack, dessert, or even breakfast! It fits perfectly into various meal plans.
- No Cracking Guaranteed: The water bath technique helps prevent cracks, ensuring a beautiful presentation.
Tools and Preparation
Before diving into making your Protein Cheesecake, gather the necessary tools. Having everything ready will make the process smoother.
Essential Tools and Equipment
- 9-inch springform pan
- Mixing bowl
- Food processor or blender
- Measuring cups and spoons
- Rubber spatula
Importance of Each Tool
- 9-inch springform pan: This special pan allows for easy removal of the cheesecake without damaging its shape.
- Food processor or blender: A powerful tool to ensure all ingredients blend smoothly for that creamy texture.
- Rubber spatula: Perfect for scraping down the sides of bowls and ensuring no batter goes to waste.
Ingredients
This healthy protein cheesecake recipe is rich, creamy, easy to make, and packed with protein!
For the Filling
- 24 oz cream cheese (or vegan cream cheese)
- 2 cups Greek yogurt (or dairy free alternative)
- 1/2 cup protein powder
- 2/3 cup sweetener (of choice)
- 2 1/2 tsp pure vanilla extract
For the Crust
- Crust ideas are listed above.
How to Make Protein Cheesecake
Step 1: Preheat the Oven
- Preheat your oven to 350 F.
- Fill a baking pan about two-thirds full with water and place it on the lower rack of the oven.
Step 2: Prepare Ingredients
- Bring the cream cheese to room temperature.
- If using, prepare your crust in a 9-inch springform pan.
Step 3: Blend the Filling
- In a food processor or blender, combine all filling ingredients.
- Blend just until smooth without overmixing.
Step 4: Bake the Cheesecake
- Pour the filling into the prepared springform pan.
- Place it on the center rack above the water-filled pan.
- Bake for 30 minutes.
Step 5: Cool Gradually
- After baking, turn off the oven but do not open the door; let sit for an additional five minutes.
- Remove from oven and let cool on the counter before refrigerating.
Step 6: Refrigerate
- Place the cheesecake in the fridge for at least six hours to firm up before serving.
Enjoy your homemade Protein Cheesecake, a perfect balance of taste and nutrition!
How to Serve Protein Cheesecake
Serving your protein cheesecake can be as delightful as making it. There are many ways to enhance its flavor and presentation for any occasion.
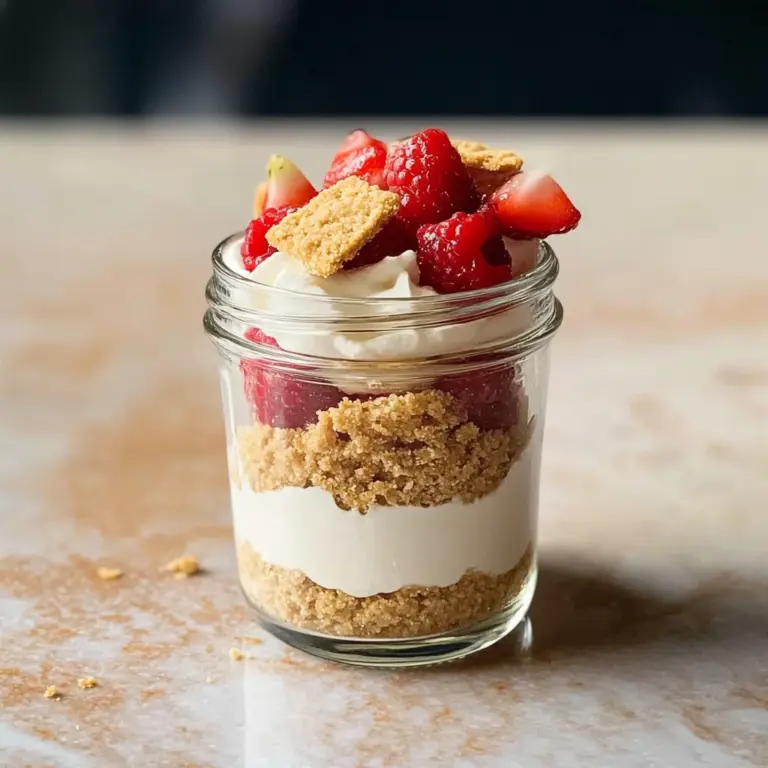
Fresh Fruit Topping
- Berries: Strawberries, blueberries, or raspberries add a refreshing burst of sweetness.
- Banana Slices: Soft, sweet banana slices complement the creamy texture beautifully.
- Peach or Mango Chunks: These tropical fruits give a lovely contrast to the cheesecake’s richness.
Whipped Cream
- Traditional Whipped Cream: A dollop on top adds lightness and indulgence.
- Greek Yogurt Topping: For a healthier option, use Greek yogurt mixed with a bit of vanilla and sweetener.
Nutty Crumble
- Almonds or Walnuts: Chopped nuts add crunch and a nutty flavor that pairs well with the cheesecake.
- Granola: Sprinkle some granola for extra texture and flavor.
Chocolate Drizzle
- Dark Chocolate Sauce: A drizzle of chocolate sauce elevates the dessert into something special.
- Caramel Sauce: For those who love sweetness, caramel is a perfect match.
How to Perfect Protein Cheesecake
Creating the perfect protein cheesecake requires attention to detail. Here are some tips to ensure your cheesecake turns out great every time.
- Use Room Temperature Ingredients: Make sure cream cheese and yogurt are at room temperature for a smooth batter.
- Avoid Overmixing: Mix just until combined to prevent excess air which can cause cracks.
- Bake with Moisture: The water bath method helps maintain humidity in the oven, reducing cracking risks.
- Gradual Cooling: Allow the cheesecake to cool slowly in the oven after baking; this helps set the texture without sudden temperature changes.
- Chill Thoroughly: Letting it chill for at least six hours will improve firmness and flavor.
Best Side Dishes for Protein Cheesecake
Pairing side dishes with your protein cheesecake can make your meal even more enjoyable. Here are some delightful options to consider.
- Mixed Green Salad: A light salad with vinaigrette balances the richness of the cheesecake.
- Fruit Salad: A vibrant fruit salad offers freshness that complements the creamy dessert.
- Yogurt Parfait: Layered yogurt with granola and fruit makes for a nutritious side.
- Nut Butter Toast: Whole grain toast spread with almond or peanut butter adds heartiness to your meal.
- Cheese Platter: An assortment of cheeses provides contrasting flavors that pair nicely with desserts.
- Smoothie Bowl: A thick smoothie topped with seeds and nuts creates a fun, healthy side option.
Common Mistakes to Avoid
Making a protein cheesecake can be simple, but there are common mistakes that can affect the outcome. Here’s how to avoid them.
- Using Cold Ingredients: Starting with cold cream cheese or yogurt can lead to a lumpy texture. Always let your ingredients come to room temperature before mixing.
- Overmixing the Batter: Mixing too long can introduce excess air into the batter, which may cause your cheesecake to crack. Blend until just smooth for best results.
- Skipping the Water Bath: Not using a water bath means your cheesecake is more likely to dry out or crack. Always include a pan of water in the oven for moisture.
- Not Letting It Cool Gradually: Quick temperature changes can cause cracks. After baking, turn off the oven and allow the cheesecake to cool inside for five additional minutes.
- Cutting Too Soon: Slicing into your cheesecake before it has fully set can lead to a messy presentation. Ensure it chills in the refrigerator for at least six hours.
Storage & Reheating Instructions
Refrigerator Storage
- Store your protein cheesecake in an airtight container.
- It will last up to 5 days in the fridge.
Freezing Protein Cheesecake
- Wrap individual slices tightly in plastic wrap, then place them in a freezer-safe container.
- You can freeze it for up to 3 months without losing flavor.
Reheating Protein Cheesecake
- Oven: Preheat to 325°F and heat for about 10-15 minutes until warmed through.
- Microwave: Use a microwave-safe plate and heat on medium power for short intervals (10-15 seconds) until warm.
- Stovetop: Place slices in a skillet over low heat, covering with a lid until warmed gently.
Frequently Asked Questions
Here are some common questions about making protein cheesecake.
What is Protein Cheesecake?
Protein cheesecake is a healthier dessert option made with high-protein ingredients like Greek yogurt and protein powder, making it creamy yet nutritious.
Can I use vegan cream cheese?
Yes! Vegan cream cheese works perfectly as a substitute for traditional cream cheese, allowing you to create a dairy-free version of protein cheesecake.
How do I customize my Protein Cheesecake?
You can customize your protein cheesecake by adding flavors like chocolate, fruit purees, or nuts. Adjust sweeteners and toppings based on your preference!
Is Protein Cheesecake suitable for meal prep?
Absolutely! This recipe is great for meal prep since it stores well in the fridge or freezer, providing convenient healthy snacks throughout the week.
How many servings does this recipe yield?
This protein cheesecake recipe yields approximately 8 servings, depending on how you slice it. It’s perfect for sharing or enjoying throughout the week!
Final Thoughts
This protein cheesecake recipe combines deliciousness with nutrition, making it an appealing choice for dessert lovers looking for healthier options. With its creamy texture and versatility, you can easily customize it to fit any taste preference. Give this recipe a try and enjoy every bite!
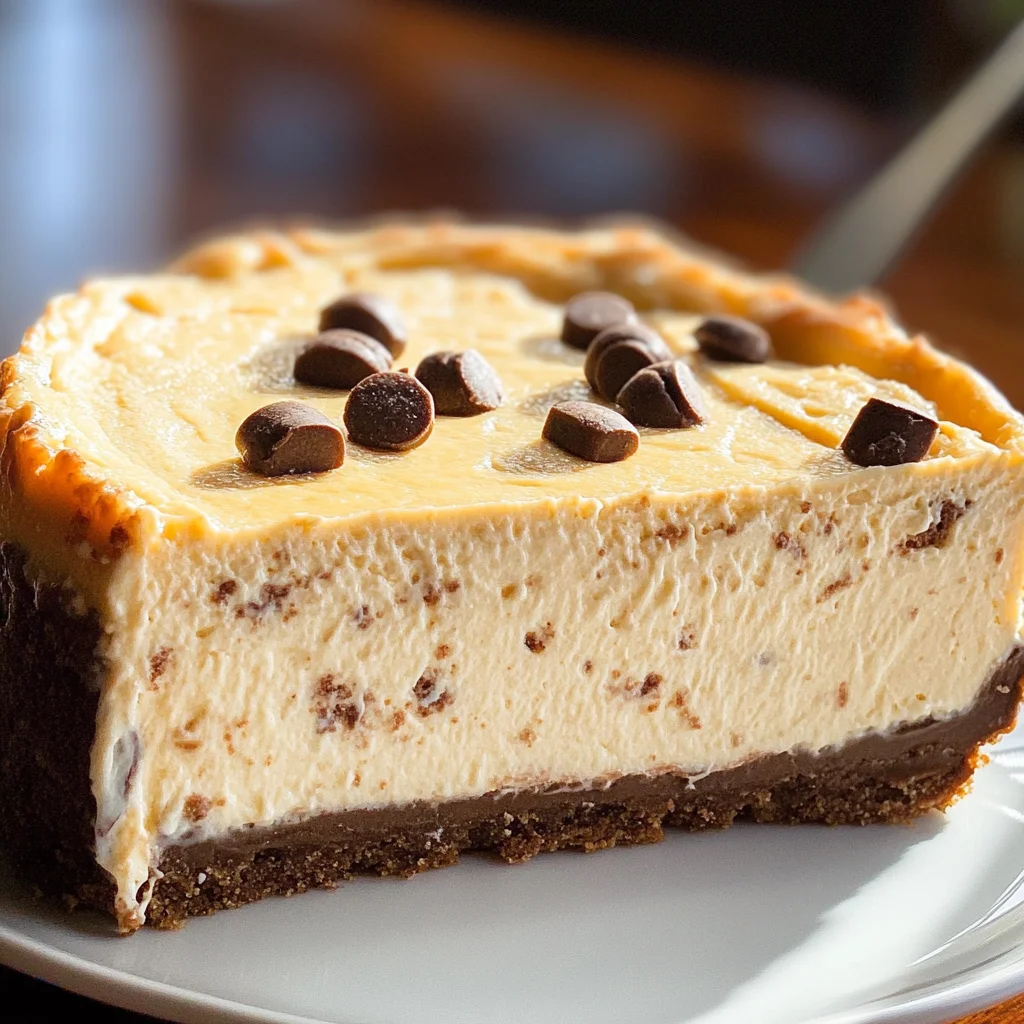
Protein Cheesecake

Indulge in a delightful treat with this Protein Cheesecake, a creamy dessert that seamlessly blends health and indulgence. Crafted with high-protein ingredients like Greek yogurt and protein powder, this cheesecake not only satisfies your sweet tooth but also provides a nutritious boost. Perfect for any occasion, its simple preparation allows you to whip it up effortlessly, whether you’re hosting guests or treating yourself. With customizable flavors and versatile serving options, this cheesecake is sure to impress. Enjoy it topped with fresh fruit or a drizzle of chocolate for an extra touch of decadence!
- Prep Time: 15 minutes
- Cook Time: 30 minutes
- Total Time: 45 minutes
- Yield: Approximately 8 servings 1x
- Category: Dessert
- Method: Baking
- Cuisine: American
Ingredients
- 24 oz cream cheese (or vegan cream cheese)
- 2 cups Greek yogurt (or dairy-free alternative)
- 1/2 cup protein powder
- 2/3 cup sweetener (of choice)
- 2 1/2 tsp pure vanilla extract
Instructions
- Preheat the oven to 350°F and prepare a water bath by filling a baking pan two-thirds full with water.
- Bring the cream cheese to room temperature and prepare your crust if desired in a 9-inch springform pan.
- In a food processor or blender, combine all filling ingredients and blend until smooth.
- Pour the filling into the prepared springform pan and place it on the center rack above the water-filled pan.
- Bake for 30 minutes, then turn off the oven and let it cool inside for an additional five minutes without opening the door.
- After cooling, refrigerate for at least six hours before serving.
Nutrition
- Serving Size: 1 slice (100g)
- Calories: 205
- Sugar: 5g
- Sodium: 320mg
- Fat: 12g
- Saturated Fat: 7g
- Unsaturated Fat: 4g
- Trans Fat: 0g
- Carbohydrates: 14g
- Fiber: 1g
- Protein: 15g
- Cholesterol: 60mg